Quickstart
In order for you to use Funny Duck quickly, we recommend that you carefully read the contents of this page and provide feedback at any time if you encounter any problems.
Supported mobile phone and tablet brands
AppleHuaweiXiaomiSamsungOPPOVIVOOne PlusTip
It does not mean that only the above-mentioned mobile phone brands are supported, but any mobile phone that can access the URL through the voice assistant can support the use of Funny Duck! Same for tablets!
Supported PC operating systems
Windows 10~11Ubuntu 14+Mac M chipTip
I don't have that much energy to compile the client in various environments. If your operating system is not among the above contents, you can refer to the documentation to compile it yourself. The client is developed using Python, and the code has been open source. See Github for details.
Start using
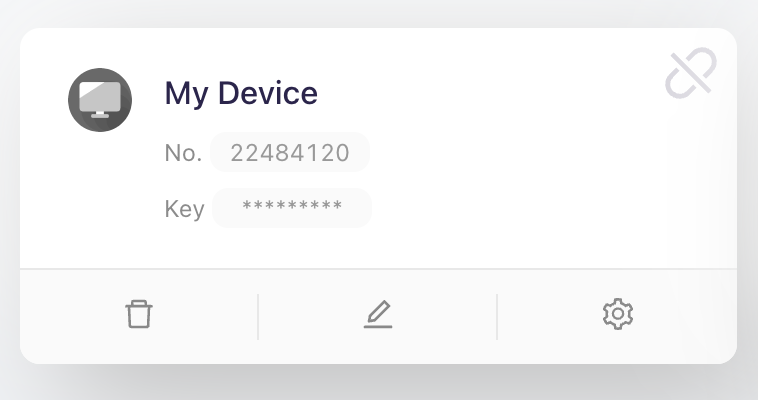
First of all, you need to go to Register, then log in to the backend and find Device > Add, enter the device name, device key and click Save.
After successful creation, we will assign you a device number, which will be used, please remember it.

Introduction to device names and keys
The device name is used to distinguish the device. It can be named, for example: My bedroom computer.
The device number and device key are used for client login.
Install Funny Duck client
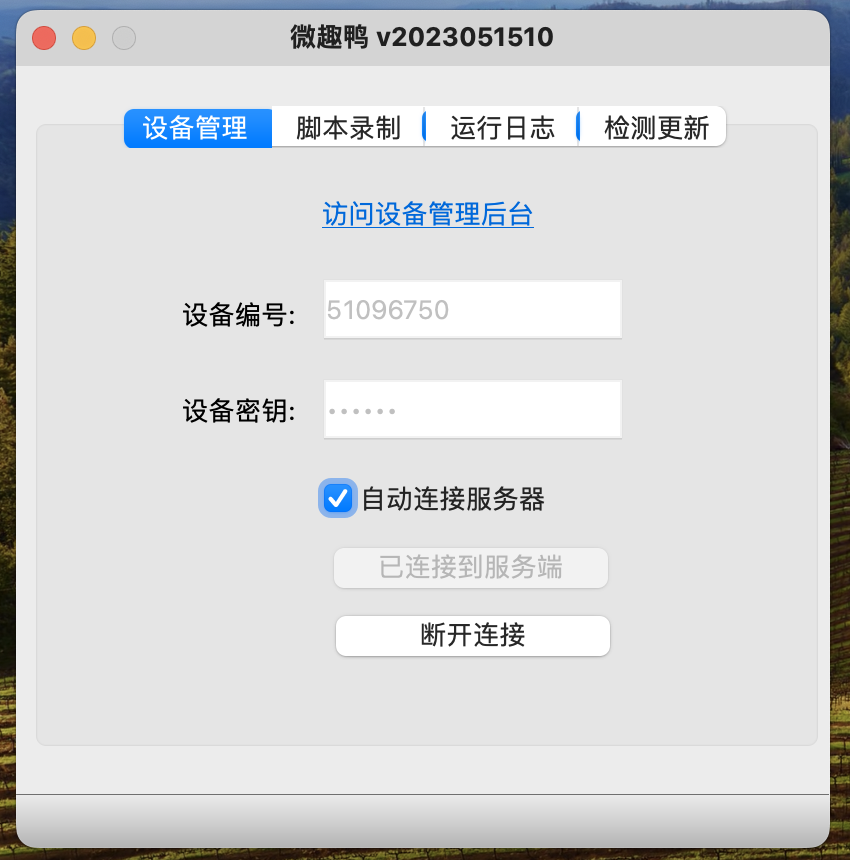
After download Funny Duck client, click to install it. If you want to start it at boot, please be sure to check✅ the startup item. After the installation is complete, we start the client and enter the device number and key above to log in.
Device login example picture

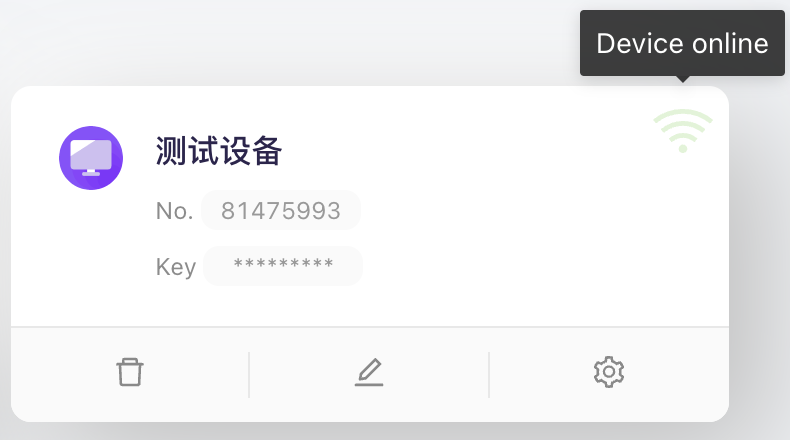
Then we visit the Management Backend. You can see that the Wi-Fi sign is green, which means the device is online. So far you have successfully completed it 🎉!
Device login success example picture

Advanced use
Now your device has successfully established a connection with Funny Duck, but you still need to control computers and other devices through Funny Duck, don't worry! It's easy, let's continue, check out create command
 Funny Duck